
Propagation
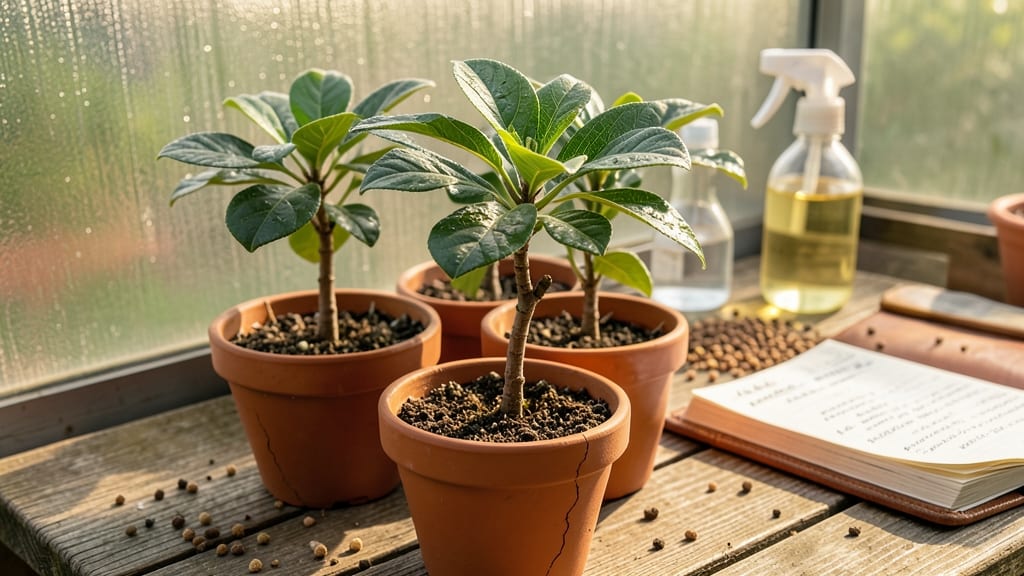
Dreaming of homegrown tropical fruit? Growing loquats from cuttings is a rewarding way to cultivate these sweet, fragrant trees. This guide breaks down 10 proven methods to propagate loquats successfully, even for beginners.
Best Time for Loquat Cutting Propagation
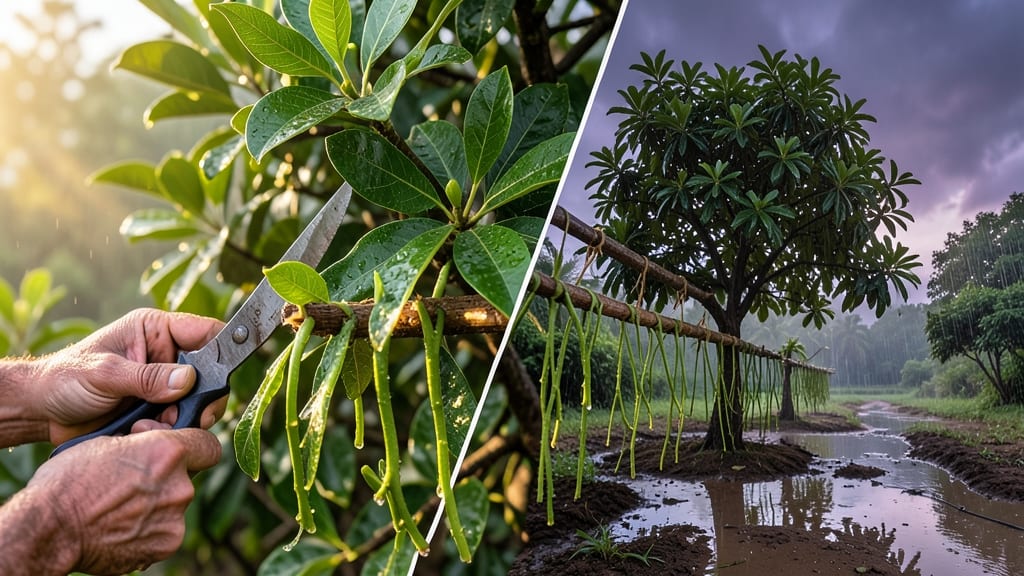
Timing your loquat cuttings can make the difference between thriving new trees and wasted effort. Unlike many plants, loquats root best during their natural growth flushes, which vary dramatically between tropical and temperate zones.
In tropical climates, take cuttings during the monsoon season (late spring to early summer) when humidity is high and temperatures stay warm. For temperate zones, aim for late spring or early summer when days are long and soil warms up—avoid winter cuttings, as they rarely root successfully. Semi-hardwood cuttings (new growth that’s slightly woody) work best, offering the ideal balance of flexibility and strength.
Gardeners in cooler regions should start indoors under grow lights 8-10 weeks before the last frost to give cuttings time to establish roots before outdoor planting. This timing strategy maximizes your chances of success, whether you're growing in Florida or California. 🌱
Selecting Healthy Loquat Branches for Cutting
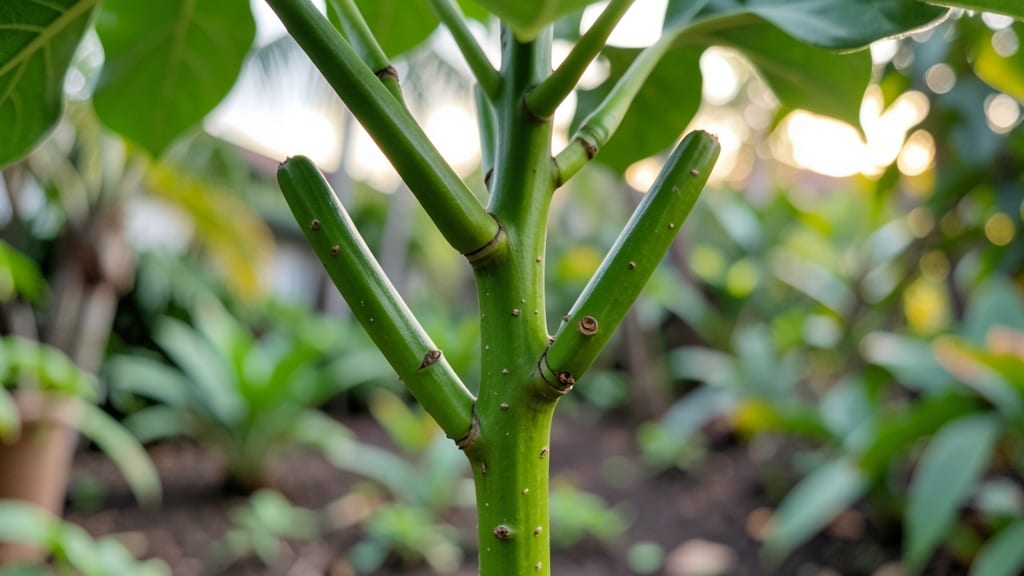
Not all loquat branches are created equal—choosing the right ones sets the foundation for successful rooting and a thriving tree. Look for branches that are 1/4 to 1/2 inch thick, with smooth, green bark and no signs of cracks or scars, as these indicate vigor and disease resistance.
Focus on semi-hardwood cuttings (new growth that’s slightly woody but still flexible) from the current season’s tips, as they root more reliably. Avoid branches with yellowing leaves, black spots, or sticky residue, which signal fungal infections or pests that could compromise your cutting’s health.
This careful selection pays off by reducing rooting time and ensuring your new loquat tree starts strong. Perfect for gardeners who want long-term success without guesswork! 🌱
Rooting Hormone vs. Natural Methods
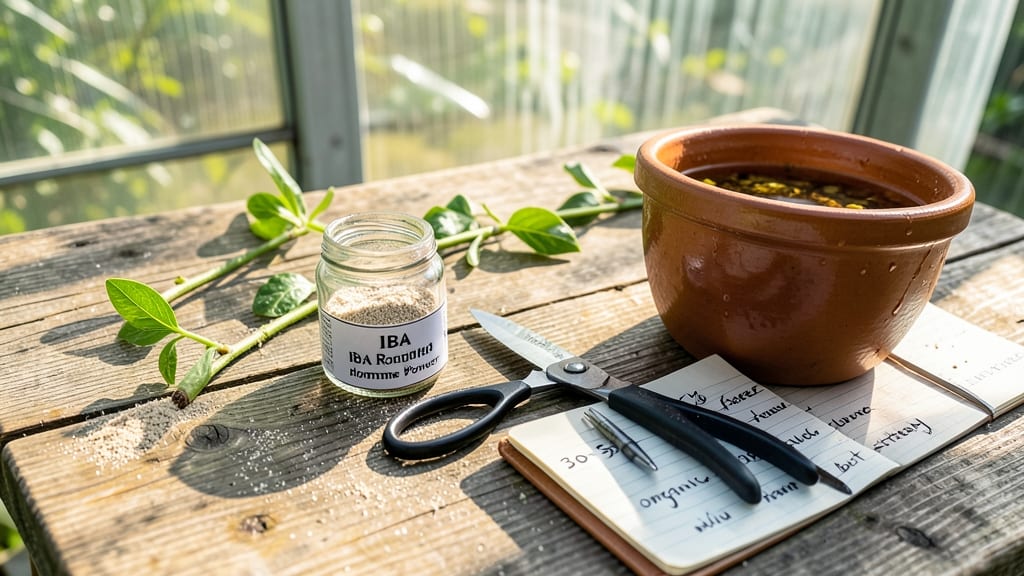
Stumped over whether to buy rooting hormone or whip up a natural alternative? For loquat cuttings, both methods work—but your choice depends on convenience and sustainability. Commercial hormones like IBA powder speed up rooting by 30-50%, while organic options like willow water (steeped from willow branches) offer a chemical-free, budget-friendly route.
Willow water, made by soaking fresh willow cuttings in water for 24 hours, contains natural auxins that stimulate root growth. Mix equal parts willow water and rainwater before dipping cuttings—ideal for eco-conscious gardeners. Commercial hormones, however, guarantee faster results in just 2-3 weeks, perfect for impatient growers or those in cooler climates where rooting takes longer.
Budget-conscious gardeners or those with organic preferences will love willow water’s simplicity, while urban gardeners with limited time may prefer the reliability of rooting hormones. Either way, your loquat cuttings will thrive! 🌱
Water Propagation for Loquat Cuttings
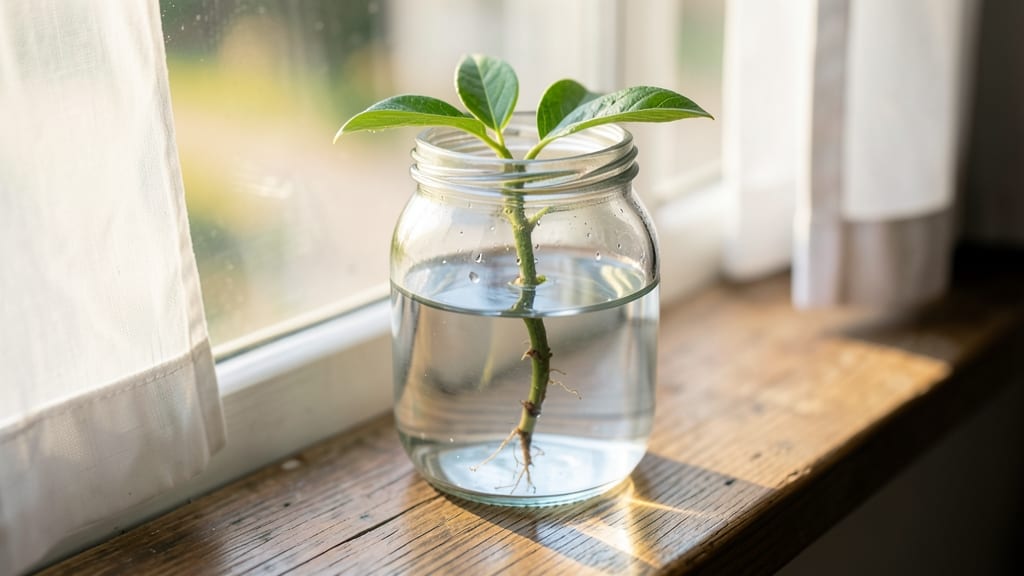
No need for fancy equipment—urban gardeners can grow loquat cuttings right on a sunny windowsill using just a glass jar and water! This beginner-friendly method lets you watch roots develop in as little as 2-4 weeks, making it perfect for small spaces where soil propagation isn’t practical.
Start by selecting a 4-6 inch semi-hardwood cutting (from last year’s growth) and removing the lower leaves. Place the stem in a jar of room-temperature water, ensuring only the bottom node submerges. Change the water every 3-4 days to prevent bacterial growth, and position the jar in bright, indirect light. Avoid direct sun, which can overheat the water and stress the cutting.
This method is ideal for those with limited outdoor space, as it requires no soil, pots, or garden beds—just a jar and a little patience. Once roots reach 1-2 inches, you’re ready to transplant into soil. 💡
Soil-Based Propagation Techniques
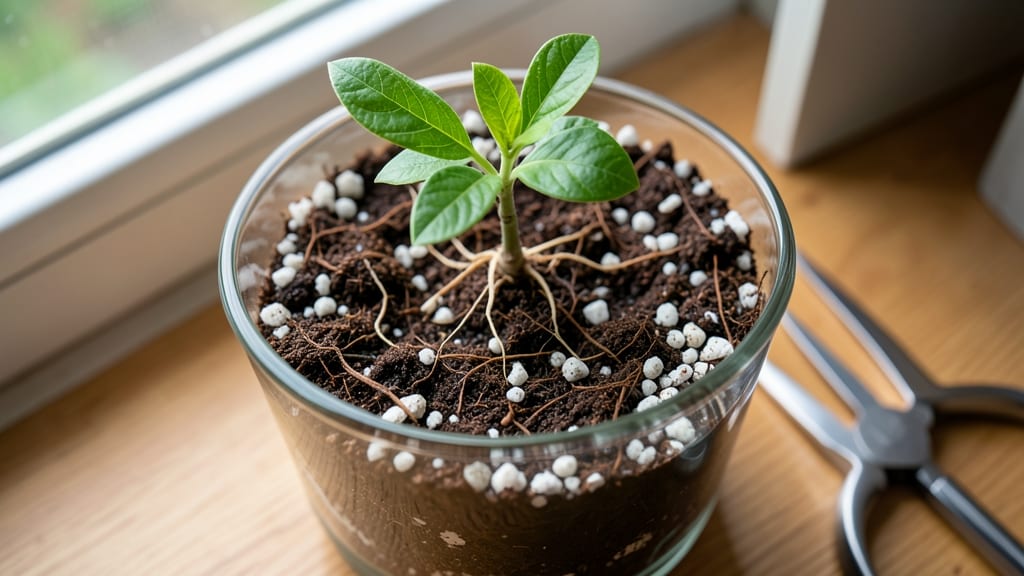
Ready to move beyond water propagation and try soil-based methods for your loquat cuttings? This approach offers a more stable environment for root development, especially for gardeners in drier climates or those who prefer a hands-off method.
Start with a well-draining mix of 50% peat moss, 30% perlite, and 20% coarse sand to prevent compaction while retaining moisture. Dip your cutting in rooting hormone (optional but helpful), then plant it at a 45-degree angle in the mix, ensuring at least one node is buried. Use a clear plastic dome or plastic bag to maintain 80-90% humidity—mist the soil lightly every other day to keep it damp but not soggy.
This method is ideal for gardeners who want to avoid the risk of waterborne bacteria or prefer a more natural transition to soil. With patience and consistent moisture, you’ll see roots forming in 4-8 weeks, giving you a stronger, more resilient young tree. 🌱
Air Layering Method for Loquat Trees
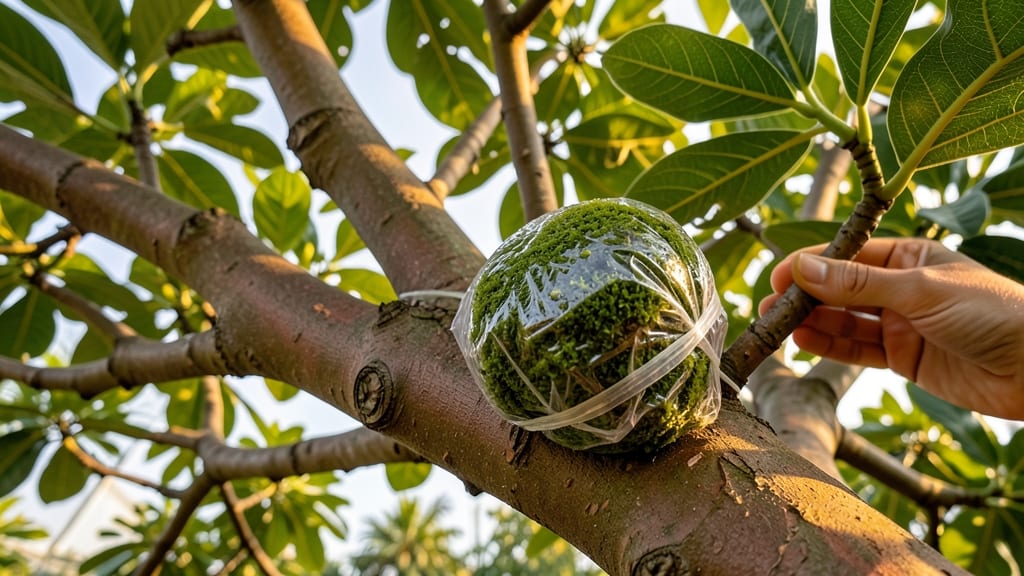
Struggling with thin or weak loquat cuttings that refuse to root? Air layering transforms thick, mature branches into guaranteed new trees without ever removing them from the parent plant. This stress-free method skips the risky transplanting phase entirely, making it perfect for larger branches that would otherwise struggle in water or soil.
Start by selecting a healthy, pencil-thick branch (about ½ inch diameter) and making a 1-inch vertical slit in the bark. Pack the wound with moist sphagnum moss, then seal it with plastic wrap and secure tightly with tape. Keep the moss damp for 4-6 weeks—roots will form inside the wrap before you even transplant. The best part? No rooting hormone needed, and the branch stays attached until you’re ready to separate it.
This technique is ideal for gardeners with established loquat trees who want to expand their grove without the hassle of cuttings. Plus, air-layered plants often mature faster because they’re already connected to the parent’s nutrient supply. 🌿
Humidity Dome Setup for Faster Growth
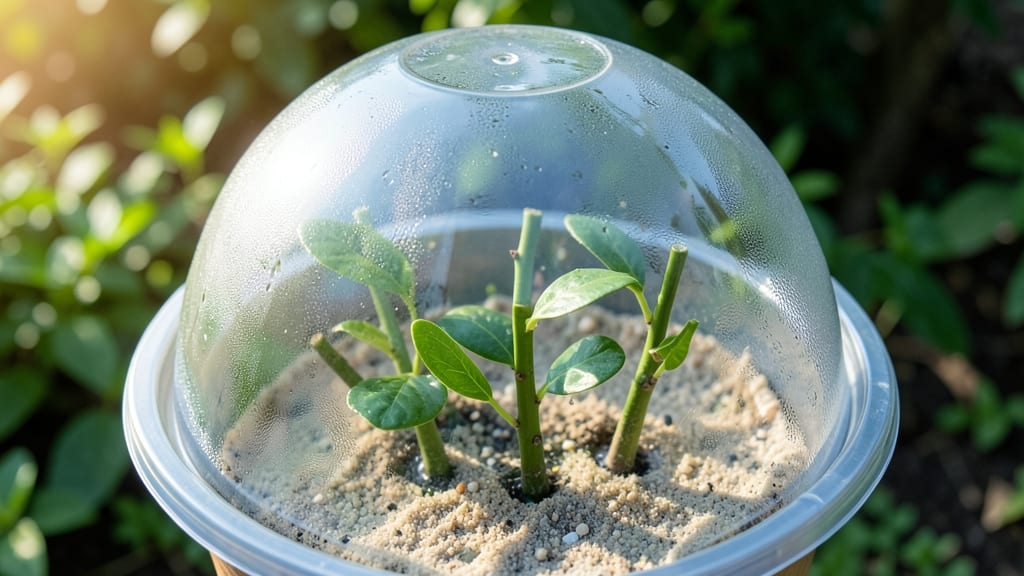
If your loquat cuttings are struggling in dry air, a DIY humidity dome can double your success rate. This simple setup mimics tropical conditions—ideal for indoor propagation or arid climates—by trapping moisture around tender new roots.
Use a clear plastic dome (like a salad container) or even a cut-off plastic bottle to cover your cutting. Place a small tray of water beneath the pot to create a microclimate of 70-80% humidity, and position your setup in bright, indirect light. Check daily for condensation on the dome—this confirms the right moisture balance. For extra insulation, wrap the dome with a rubber band to seal gaps.
This method is perfect for urban gardeners or those in dry climates who want faster rooting without expensive equipment. Just
Transplanting Rooted Loquat Cuttings
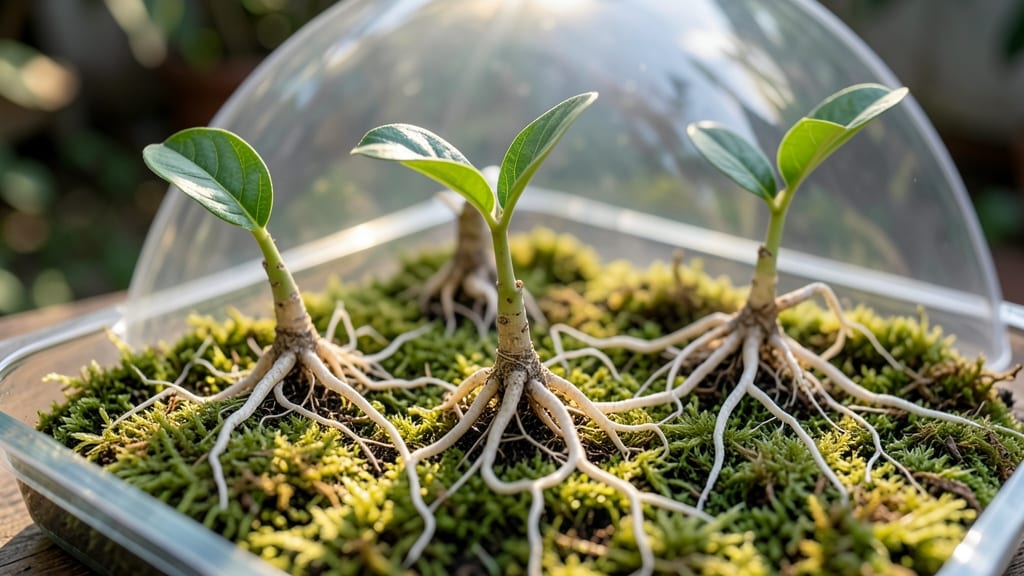
Once your loquat cuttings have developed a sturdy root system, the real test begins: transplanting without triggering shock. The key is timing and technique—move too soon, and you risk damaging delicate roots; wait too long, and the cutting may outgrow its temporary home.
Start by hardening off your rooted cuttings for 7-10 days in partial shade, gradually exposing them to outdoor conditions. When transplanting, use a moist, well-draining soil mix (equal parts perlite, peat, and compost) to reduce stress. Gently remove the cutting from its container, tease apart tangled roots, and plant it at the same depth it was growing before. Water thoroughly to settle the soil and eliminate air pockets.
This method is ideal for gardeners transitioning from indoor propagation to outdoor beds or larger pots. With proper care, your rooted loquat cuttings will establish themselves quickly and thrive. 🌱
Pest and Disease Prevention Tips
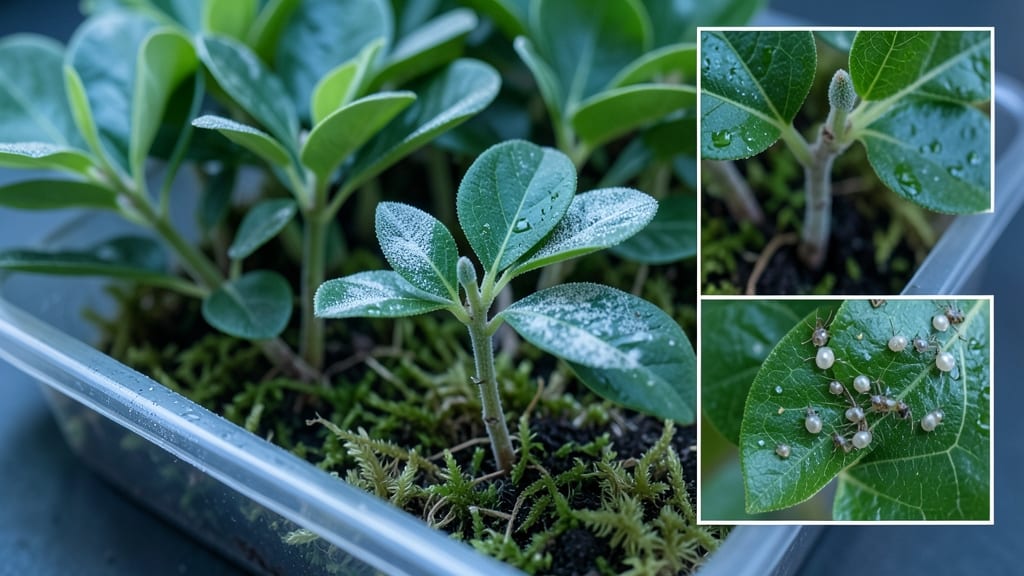
Young loquat cuttings are especially vulnerable to fungal infections and aphid infestations during their delicate rooting phase. Without intervention, these pests can stifle growth or even kill your new plant before it takes hold.
Start by inspecting cuttings for early signs of powdery mildew (white fungal coating) or aphids (tiny green clusters on new growth). Use neem oil spray (1 tsp per quart of water) weekly to deter pests organically, or apply kaolin clay as a protective barrier. For fungal prevention, ensure proper airflow by avoiding overcrowded humidity domes and watering at the base rather than overhead.
This proactive approach is ideal for beginners or urban gardeners with limited space—keeping your cuttings healthy requires minimal effort but pays off with stronger, disease-resistant trees. 💚
Accelerating Growth with Fertilizers

Once your loquat cuttings have rooted, fertilizers become the secret weapon to transform them from fragile sprouts into strong, fruit-bearing trees. The key is patience—wait until you see new leaf growth (about 4-6 weeks after rooting) before introducing any nutrients, as tender roots can’t handle fertilizer shock.
Start with a balanced, water-soluble fertilizer (like 10-10-10) diluted to half-strength to avoid burning delicate roots. Apply every 4-6 weeks during the growing season (spring and summer), focusing on root development first—use a fertilizer with higher phosphorus (like 5-10-5) for the first few months. For organic gardeners, compost tea or fish emulsion (diluted to 10%) provides gentle nutrients without risk.
This gradual approach ensures your young loquat trees grow strong roots and lush foliage without stress, setting them up for years of tropical fruit harvests. Perfect for gardeners who want science-backed growth without the guesswork! 🌟