
How To
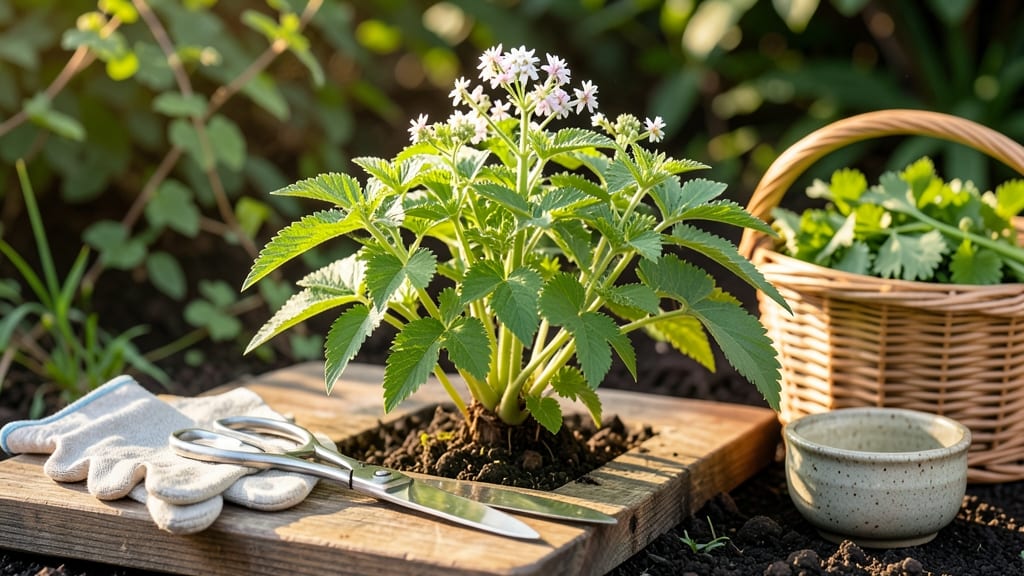
If you’ve ever wondered how to harvest culantro without sacrificing your plant’s flavor or growth, you’re in the right place. This vibrant herb—often called recao or Mexican coriander—is a kitchen staple, but getting it wrong can leave you with bitter leaves or a struggling 🌿.
The key to success lies in timing and technique. Harvest too early, and the leaves won’t pack their signature punch; wait too long, and the plant bolts or loses its tenderness.
I’ll show you exactly when to snip—whether your culantro is just a few inches tall or thriving in your garden—and how to do it so your plant keeps producing lush, flavorful leaves for weeks.
You’ll also learn the best tools to use (and which to avoid), how to encourage regrowth, and simple storage tips to keep your harvest fresh. Whether you’re a beginner or a seasoned gardener, these steps will ensure your culantro stays healthy and delicious all season.
Ready to turn your homegrown harvest into a flavor powerhouse? Let’s dive into the easiest way to keep your culantro thriving while maximizing every leaf’s potential.


When to harvest culantro for peak flavor and regrowth
Timing is everything when harvesting culantro. If you cut too early, your leaves will be bitter and underdeveloped. Harvest too late, and you risk the plant bolting—sending up flower stalks that ruin its delicate flavor.
The sweet spot? Between 30 and 60 days after planting, when leaves are fully unfurled but before the plant reaches 12 inches tall. This window ensures maximum regrowth and flavor.
Look for dark green, firm leaves that are about 2-3 inches long. When crushed, they should release a fresh, citrusy aroma—this is your cue that the plant is ready. Avoid harvesting if leaves are still curled or lack fragrance, as they won’t have developed their full flavor profile yet.
Seasonal timing also matters. In USDA Zone 6a, aim to harvest between June and October. Early summer harvests (June-July) yield the most tender leaves, while late-season harvests (September-October) may produce slightly larger but still flavorful foliage. Always harvest in the morning when essential oils are at their peak.
Watch for these visual cues to avoid harvesting too soon:
- Leaves smaller than 1 inch
- Tightly curled or purple-tinged stems
- Weak or no aroma when crushed
| Stage | Leaf Size | Plant Height | Aroma | Action |
|---|---|---|---|---|
| Early Growth | <1 inch | Under 4 inches | Mild or none | Wait 2-3 weeks |
| Ideal Harvest | 2-3 inches | 6-12 inches | Strong citrusy scent | Harvest outer leaves |
| Late Stage | >3 inches | >12 inches | Bitter or floral | Prune aggressively |
🌿 Harvest Tip: Always leave at least 2-3 inches of growth to encourage regrowth.
Harvesting at the right time isn’t just about flavor—it’s about encouraging regrowth. When you remove the outer leaves (about 1/3 of the plant at a time), you stimulate new growth from the center.
This method keeps your culantro bushy and productive for months, rather than letting it bolt into a single flower stalk.
If your culantro starts to bolt (send up tall flower stems), it’s a sign you waited too long. While the leaves may still be edible, their flavor will be bitter and less aromatic.
To salvage the plant, cut the flower stalk at the base and focus on harvesting the remaining leaves. With proper care, it may produce a second flush of growth.
Pro tip: Harvest frequently—every 2-3 weeks—to maintain a steady supply of fresh culantro. This prevents overgrowth and ensures you always have tender, flavorful leaves on hand for your favorite dishes.
🌱
Step-by-step culantro harvesting techniques for healthy regrowth
Harvesting culantro correctly is the secret to a bushier plant with bold flavor all season. Start by hand-picking the outer leaves—they’re the most mature and flavorful. Use your thumb and forefinger to gently twist the leaf stem until it separates cleanly from the plant.
This method minimizes damage to the growth point at the center.
For a full harvest, use clean, sharp scissors or pruning shears. Cut just above a leaf node (where leaves meet the stem) at a 45-degree angle.
This angle helps water runoff and prevents rot from pooling. Avoid cutting too close to the base, as this can expose the plant to disease or stunt regrowth.
- Hand-pick outer leaves for selective harvesting (best for flavor).
- Use scissors for full pruning (encourages bushiness).
- Angle cuts 45 degrees above a leaf node for clean regrowth.
- Avoid straight cuts near the base to prevent disease.
- Water deeply after harvesting to revive stressed plants.
- Add a light fertilizer (like 10-10-10) to boost regrowth.
- Pinch back flower buds to prevent bolting and keep leaves tender.
- Harvest every 2-3 weeks to stimulate new growth.
After harvesting, your culantro may look a bit wilted—this is normal! Give it a deep watering in the morning to help it recover. Within 3-5 days, you’ll see new growth sprouting from the center.
To prevent leggy stems, place your plant in bright indirect light or supplement with a grow light if indoors.
One pro tip: If your culantro starts to bolt (send up flower stalks), don’t panic! Simply cut the flowers at the base, and the plant will often regrow leaves for another harvest cycle.
However, the flavor may diminish once bolting begins, so act fast to save the best leaves.
For potted culantro, harvesting is even more critical—overcrowding leads to smaller leaves and weaker flavor. After each harvest, trim back any yellow or damaged leaves to improve airflow and reduce pests.
With the right technique, your culantro can produce harvests for months, even in container gardens.