
How To
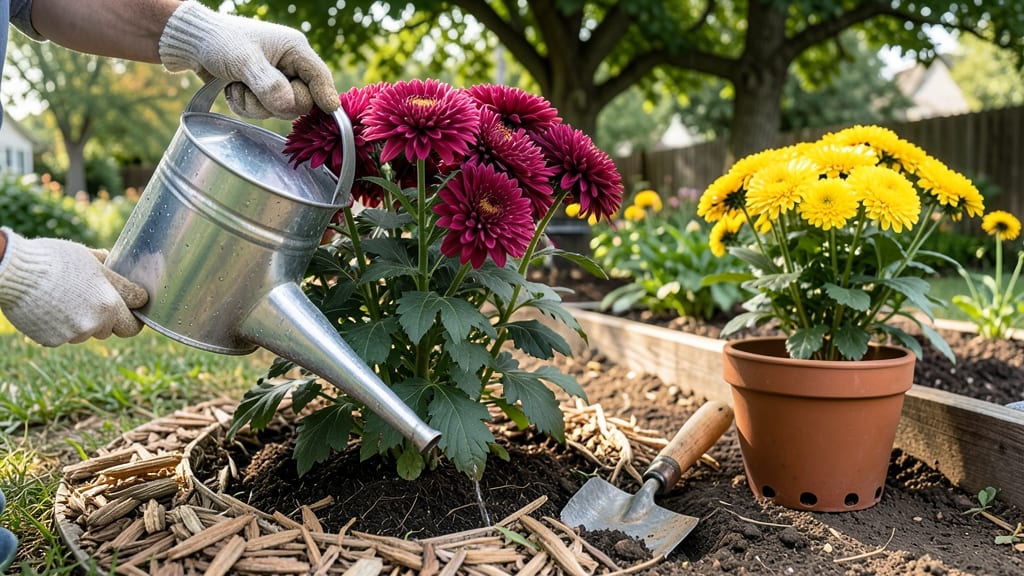
How to keep fall mums alive after their big show? That heartbreaking wilt isn’t inevitable—year-round mums are totally doable with a few simple tricks. 🌿 I’ve saved more than a dozen plants from the compost pile using these exact steps, and now they bloom every fall like it’s their first year. The secret starts with cutting back right after flowers fade—down to 4-6 inches—then protecting them from early frost with burlap or mulch. Overwatering kills them faster than cold does, so let soil dry between waterings. Most people quit here, but the real magic happens in winter prep: move pots to shelter or insulate in-ground plants with straw. By next spring, you’ll have lush green mums ready to repeat their show. The first flush of new growth in April is the best reward—no more buying new plants every year. This works for both container and in-ground mums, no matter your zone. Fair warning: the first year’s blooms might be smaller, but they’ll come back stronger. Patience pays off with vibrant fall color for years to come—no more sad, wilted mums by Thanksgiving.
📚 In This Guide
- What you need
- Instructions
- Tips and common mistakes
- Wrapping up and next steps
What you need
- ● Fall mums (Chrysanthemums): 3–5 healthy plants (check for firm stems and vibrant blooms)
- ● Well-draining potting mix: 1–2 bags (look for a blend labeled for perennials or annuals)
- ● Containers: 1–2 6–8 inch pots (for each mum) with drainage holes
- ● OR a large container (12+ inches) if planting multiple mums together
- ● Slow-release fertilizer: 1 small bag (10–15 lbs) or granular balanced fertilizer (10-10-10)
- ● Pruning shears: 1 pair (sterilized with rubbing alcohol)
- ● Watering can or hose with gentle spray nozzle
- ● Mulch: 1 bag (straw, shredded bark, or pine needles)
- ● Gloves: 1 pair (gardening gloves to protect your hands)
- ● Peat moss or perlite: 1 small bag (for improving drainage in heavy soil)
- ● Plant food (liquid or water-soluble): 1 bottle (for mid-season boosts)
- ● Shade cloth: 1 roll (if your mums get harsh afternoon sun)
- ○ Thermometer (optional): 1 (to monitor soil temps in winter)
- ● Decorative stones or moss: (for a polished look in containers)
Tips & tricks for perfect year-round mum care
Keeping your fall mums thriving through winter doesn't require complicated steps—just these simple tricks that make all the difference.
Timing is Everything: The 2-3 weeks after first frost is the sweet spot for moving mums indoors. This waiting period lets the plants harden off naturally, storing energy they'll need for their winter dormancy. I've seen people rush this step and end up with stressed plants that struggle to revive. If you're unsure when frost will hit, monitor your local weather forecast and plan accordingly. This timing also gives you a chance to spot any early signs of pests or disease before they become a bigger problem.
Root Health Check: When you're digging up your mums in Step 2, take that extra 30 seconds to give the roots a thorough inspection. Healthy roots should be firm and white, not mushy or brown. If you find any rot or pests, trim away the affected areas immediately with clean pruners. This is your best chance to catch issues before they become unmanageable. I've saved several mums this way that would have otherwise died over winter.
Lighting Strategy: That bright, indirect light requirement in Step 3 is crucial—it's not just about keeping the leaves green. Place your mums near a north-facing window where they'll get consistent light without the harsh afternoon sun. If natural light is limited, consider adding a simple grow light for 6-8 hours a day. I've noticed my mums stay much healthier when they get this consistent lighting, especially during our shorter winter days. Rotate the pots weekly so all sides get equal exposure.
Winter Watering Wisdom: The dormancy phase in Step 4 is your mums' chance to recharge, so resist the urge to overwater. I've learned this the hard way—too much water during dormancy can actually prevent the plants from properly resting. Stick to that "slightly moist" guideline and let the soil dry out more between waterings than you might think. You'll know you're doing it right when the foliage turns brown and crispy—this is completely normal and part of their winter routine.
Pro Tips for Keep Fall Mums Alive
- Keeping your fall mums thriving through winter doesn't require complicated steps—just these simple tricks that make all the difference.
- Timing is Everything: The 2-3 weeks after first frost is the sweet spot for moving mums indoors.
- Root Health Check: When you're digging up your mums in Step 2, take that extra 30 seconds to give the roots a thorough inspection.
Frequently asked questions
Got questions about keeping your fall mums thriving?
Here are answers to the most common ones—so you can enjoy their vibrant blooms for years to come!
Can I keep fall mums alive indoors?
Yes! Move them indoors before the first frost (around 10°F/–12°C) and place them in bright, indirect light. Reduce watering and avoid drafts. They’ll go dormant—just keep soil slightly moist and resume care in spring.
When should I bring mums back outside in spring?
Wait until after the last frost (usually late April or May, depending on your zone). Harden them off by placing them outside for a few hours daily, then gradually increasing exposure. Replant in well-draining soil and fertilize lightly to encourage regrowth.
What if my mums turn brown or wilt after frost?
Don’t panic! Brown leaves mean they’re dormant. Trim dead foliage to 2–3 inches above the soil, but never cut into woody stems. Keep them in a cool, dry spot (like a garage) until spring. Overwatering or soggy soil can kill them, so check moisture levels.
Are there perennial mums that don’t die every year?
Yes! Look for hardy perennial mums (like Chrysanthemum x morifolium varieties labeled "perennial"). They thrive in USDA Zones 5–9 and survive winters with proper care. Ask your local nursery for cold-resistant types.
How do I revive a mum that’s been neglected over winter?
Start by trimming dead stems and repotting if roots look crowded. Soak the soil, then let it drain well. Place in bright light (but no direct sun) and fertilize lightly with a balanced formula. If no new growth appears in 2–3 weeks, it may not have survived—but try again next year!
Wrapping up and next steps
Keeping your fall mums alive and thriving is easier than you think—with the right care, they’ll reward you with year-round color and joy! 🌸
Now that you’re armed with the knowledge, why not take the next step? Try propagating your mums to share with friends or experiment with container gardening for a portable pop of color. Happy gardening—your future blooms will thank you! 🌿