
How To
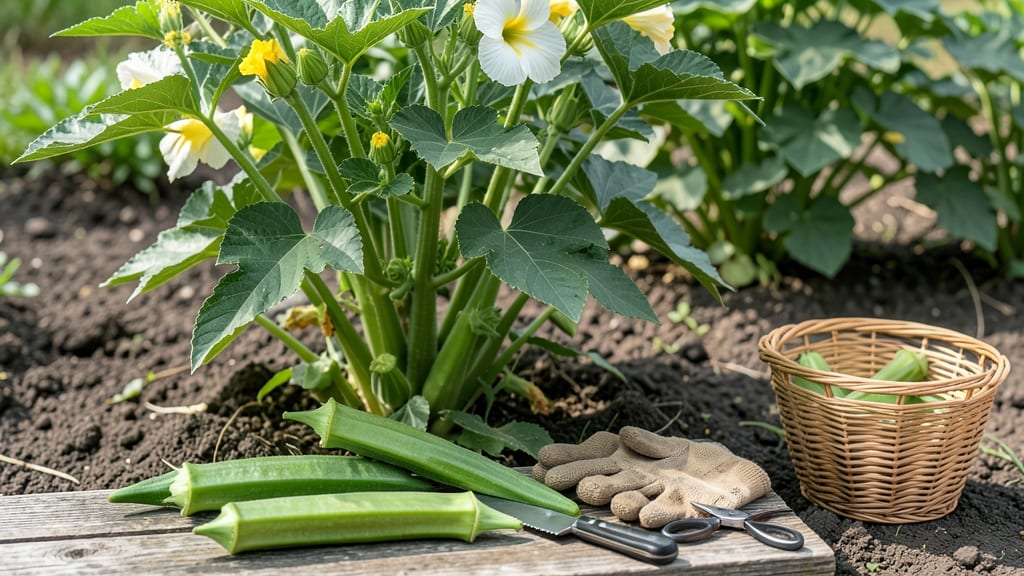
How to know when to pick okra can mean the difference between a crisp, tender pod and one that's tough and stringy. The key lies in those subtle visual and tactile cues that most gardeners miss—but once you learn them, you'll never overlook them again.
If you've ever wondered why your okra pods sometimes turn out rubbery or why they seem to grow overnight, the answer is simple: timing.
Harvesting at the right moment ensures maximum flavor and texture, and I'm about to show you 5 easy ways to tell when your 🌱 okra is ready to pick.
From checking pod size to testing firmness with your fingers, these methods work whether you're in USDA Zone 6a or anywhere else. You'll learn how to avoid common mistakes that ruin flavor and discover the best frequency for harvesting to keep your plants producing all summer.
Ready to transform your garden into a steady supply of restaurant-quality okra? Let's dive into the simple secrets that will change the way you harvest forever.


5 Tactile tests to determine okra ripeness before harvesting
Harvesting okra at the right moment ensures crisp texture and mild flavor. Unlike many vegetables, okra doesn't ripen after picking, so timing is critical. The key lies in your fingers and eyes—these five simple tests will help you identify the perfect pods every time.
First, focus on pod size. The ideal harvest window is when pods measure between 2 to 4 inches in length. Smaller pods (under 2 inches) are too immature, while larger ones become fibrous and tough.
Use a ruler or your thumb as a quick reference—most okra varieties hit peak tenderness in this range.
Next, check the pod's firmness by gently squeezing it. Ready-to-harvest okra should feel firm but slightly yielding, like a ripe cucumber. If it feels spongy or mushy, it's underripe. Overripe pods become hard and woody, making them less pleasant to eat.
Stem separation is another telltale sign. Gently twist the pod at its base—if it snaps cleanly with minimal resistance, it's ready. Difficulty separating usually means the pod needs more time. This test works best in the morning hours when pods are hydrated.
Now examine the pod's surface texture. Mature okra should have a smooth, glossy skin. Dull or wrinkled pods indicate overripeness, while overly shiny pods might still need time. Run your thumb along the edge—slight ridges are normal, but deep grooves signal it's past its prime.
The final test is the bend test. Hold the pod between your thumb and forefinger and apply gentle pressure. A ripe okra pod will bend slightly without snapping. If it resists bending, it's not ready yet. This method helps distinguish between tender and tough pods instantly.
- Pod Size: 2-4 inches long
- Firmness: Firm but yielding (like cucumber)
- Stem Separation: Snaps cleanly at base
- Surface Texture: Smooth and glossy
- Bend Test: Bends slightly without snapping
For beginners, I recommend harvesting every 2-3 days during peak production to encourage more pods. Okra plants can produce 50-100 pods per season, but consistent harvesting keeps them coming. If you miss the window, pods grow too fast—some varieties can reach 6 inches in just 24 hours!
Color can also help, though it varies by variety. Most okra turns from light green to deep green as it matures. Some heirloom varieties develop purple or red hues when fully ripe, but these are best for pickling or stewing rather than frying.
Always prioritize texture over color for crisp-fried okra.
Remember, okra's seed pods develop quickly, so check your plants daily during the harvest season (July-October). The more you pick, the more your plant will produce. With these tests, you'll never struggle with underripe or overripe okra again!
5 Tactile tests to determine okra ripeness before harvesting
Okra pods mature quickly, and knowing the exact moment to harvest makes all the difference between a crisp, tender pod and a woody, stringy one. Unlike many vegetables, okra doesn’t ripen off the vine, so timing is critical.
Grab a pod and let’s explore the 5 tactile tests that reveal when your okra is ready for the kitchen.
First, check the pod length—this is your most reliable starting point. The ideal harvest window for peak flavor and texture is when pods measure between 2 to 4 inches.
Anything shorter may still be too tender, while pods longer than 4 inches start developing fibrous strings that ruin the eating experience. Use a ruler or your thumb as a quick guide.
Next, examine the pod’s firmness by gently pressing your thumb and forefinger against the side. A ripe okra pod should feel firm but slightly yielding, almost like a ripe avocado. If it feels too soft or squishy, it’s underripe.
Conversely, if it’s hard as a rock, it’s overripe and past its prime. This test is especially useful for beginners who may struggle to gauge ripeness visually.
5 Tactile Tests for Okra Ripeness
- Pod Length: 2–4 inches (📏)
- Firmness: Firm yet tender (🤲)
- Stem Separation: Snaps cleanly (✂️)
- Texture: Smooth, glossy skin (💚)
- Seed Pod: Green and glossy (🌱)
Pay attention to how the pod separates from the stem. A ripe okra pod should detach easily with a slight twist or gentle pull, almost like snapping a green bean.
If the pod resists and tears, it’s either underripe or overripe. This test is a game-changer for avoiding bitter, fibrous pods that can ruin dishes like gumbo or stir-fries.
Run your fingers along the pod’s surface to check its texture. Ripe okra should feel smooth and slightly glossy, almost like a fresh green pepper. Dull or matte pods are a red flag—they’re either underripe or starting to dry out.
The glossiness comes from the pod’s natural moisture, which fades as it matures.
Finally, peek inside the pod by gently opening it at the seam. The seeds and inner cavity should still be small and green. If you see large, mature seeds or a hollow center, the pod is past its prime.
Harvesting at this stage means sacrificing flavor for seed collection, which is only useful if you’re saving seeds for next year’s garden.