
Vegetables
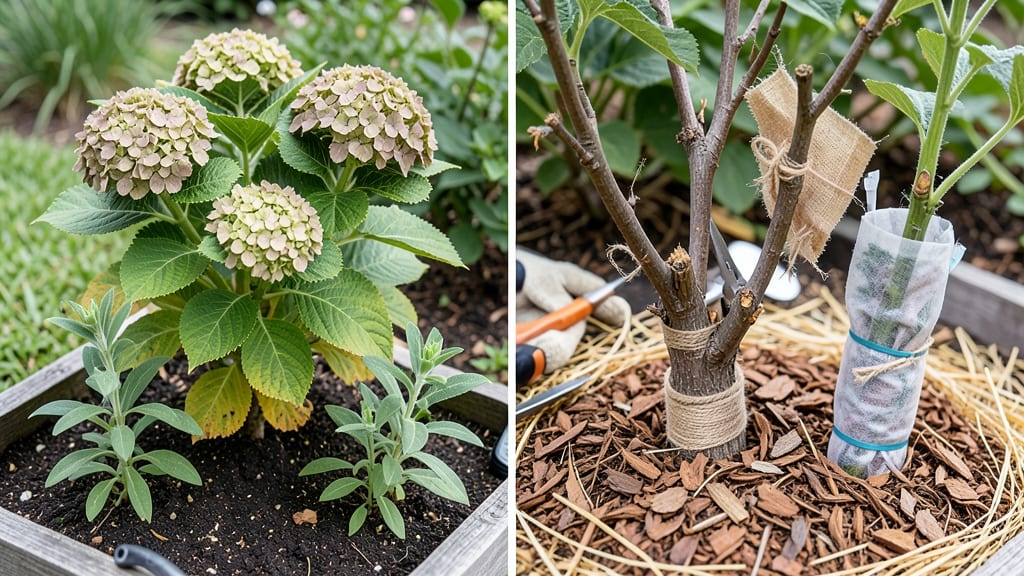
How to overwinter vegetables saves your harvest—and your wallet. 🌱 Last winter, I extended my kale harvest through February by using simple row covers and mulch, proving you don’t need a greenhouse to beat the cold. The key is matching plants to your climate and using the right tools: frost cloth, straw mulch, and cold frames. Even tender greens like lettuce can survive light freezes with proper protection. My Swiss chard stayed productive until spring, proving it’s all about timing and technique. By spring, you’ll see vibrant regrowth that outpaces fresh starts. The plants you overwintered mature faster, giving you an earlier harvest and stronger yields. Plus, you’ll save money by not replanting from seed. Works for both temperate and cold climates—just adjust timing and materials. Here’s how to make it work for your garden.
📚 In This Guide
- What you need
- Instructions
- Tips and common mistakes
- Wrapping up and next steps
What you need
- ● Garden gloves (2 pairs, waterproof & insulated for cold weather)
- ● Pruners or sharp shears (sterilized, for harvesting)
- ● Harvest baskets or buckets (5+ gallon capacity, breathable material)
- ● Cold frames or low tunnels (1–2 frames per 100 sq ft of garden, with clear plastic or glass covers)
- ● Row covers or frost cloth (3–4 oz weight, enough to cover vulnerable plants)
- ● Straw or mulch (2–3 inches thick, for insulation—straw is best for root veggies)
- ● Burlap sacks or mesh bags (for curing onions, garlic, or potatoes)
- ● Plastic bins or containers (food-grade, with lids, for root cellar storage)
- ● Hygrometer & thermometer (to monitor humidity/temp in storage areas, ideal range: 32–40°F and 85–90% humidity)
- ● Wooden crates or pallets (for elevating stored veggies off the ground)
- ● LED grow lights (for indoor sprouting or seed-starting in winter)
- ● Vacuum sealer (to extend shelf life of dried herbs or greens)
- ● Food dehydrator (for preserving leafy greens or herbs)
- ● Root cellar kit (if you don’t have a basement or cool space)
- ● Labeling tags & marker (to track harvest dates and varieties)
- ● Pest deterrents (diatomaceous earth, neem oil, or rodent bait stations)
Step-by-Step instructions for overwintering cold-hardy vegetables
Extend your harvest with these simple techniques—no fancy tools or greenhouse needed.
🌱 Step 1: Identify and Select the Right Vegetables
Focus on cold-hardy crops that thrive in winter conditions like kale, spinach, carrots, beets, and Swiss chard. These varieties naturally tolerate frost and even improve in flavor after light freezes. Avoid tender plants like tomatoes or peppers—they won’t survive below 25°F. Check your local frost dates and plant varieties that mature quickly before the first frost.
I always prioritize leafy greens and root vegetables because they store energy in their leaves and roots, making them more resilient. Harvest any remaining tender crops before temperatures drop below 35°F to prevent damage. Leave cold-hardy plants in the ground—they’ll keep producing until snow covers them completely.
💧 Step 2: Prepare the Soil and Mulch Heavily
Remove weeds and debris from the bed to prevent pests and diseases from overwintering. Loosen the soil lightly with a fork to improve drainage, but don’t till deeply—this disturbs beneficial microbes. Amend the soil with 2-3 inches of compost to replenish nutrients depleted during the growing season.
Once the ground freezes lightly (usually after 2-3 nights below 30°F), spread 4-6 inches of straw or leaves over the soil. This mulch acts as insulation, protecting roots from extreme cold and preventing soil heaving. I like to use straw because it breaks down slowly and adds organic matter as it decomposes. Avoid plastic mulch—it traps too much moisture and can suffocate plants.
☀️ Step 3: Protect Plants from Harsh Conditions
For extra insulation, cover plants with frost blankets or row covers when temperatures drop below 20°F. Secure the edges with bricks or stakes to prevent wind from tearing the fabric. These covers trap heat and allow sunlight to penetrate, keeping plants active even in freezing conditions. Remove covers during the day if temperatures rise above 40°F to prevent overheating.
Watch for signs of stress like wilting or yellowing leaves—this often means the plants need better airflow. If snow accumulates, gently brush it off row covers to avoid crushing the fabric. You’ll see new growth emerging in early spring as soon as the soil thaws, signaling that your plants are still alive and ready to keep producing.
⏰ Step 4: Monitor and Maintain Through Winter
Check your overwintering plants every 1-2 weeks during mild spells to ensure they’re still healthy. Remove any dead or diseased leaves immediately to prevent rot from spreading. If you notice mold or slimy spots on the mulch, fluff it up to improve airflow and reduce moisture buildup.
In late winter, as temperatures begin to rise, thin the mulch slightly to allow sunlight to reach the soil. This encourages early spring growth and prevents the soil from becoming waterlogged when snow melts. You’ll know it’s working when you see fresh shoots pushing through the mulch—this is your reward for the extra care!
🌿 Step 5: Harvest and Transition to Spring
As temperatures warm into the 40s and 50s, start harvesting outer leaves from greens like kale and spinach to encourage continued growth. Root vegetables like carrots and beets can stay in the ground until you’re ready to use them—dig them up as needed to avoid spoilage. If you notice any plants bolting (sending up flower stalks), harvest them immediately for the best flavor.
Once the last frost date approaches, remove all mulch and row covers to allow the soil to warm up. This signals the plants to shift into full spring growth mode. You’ll be amazed at how much longer your harvest lasts—sometimes well into early spring—with just a little extra winter care!
Tips & tricks for overwintering cold-hardy vegetables
These simple strategies will help you maximize your winter harvest without the guesswork.
Selection Strategy: When choosing varieties for overwintering, look for those labeled as "winter-hardy" or "cold-tolerant" on seed packets. Kale varieties like 'Winterbor' and 'Red Russian' handle frost beautifully, while 'Fordhook' giant leaf lettuce can survive light freezes. For root crops, 'Rainbow' carrots and 'Detroit Dark Red' beets are excellent choices—they store energy in their roots, making them more resilient during cold snaps.
Mulch Depth Matters: The 4-6 inches of mulch mentioned in Step 2 is non-negotiable for true winter protection. I've learned this the hard way—when I used only 3 inches last winter, my carrots froze solid during our 15°F stretch. For extra insurance in your region's coldest zones, add an additional 2 inches of straw specifically over root crops like beets and carrots, where the crowns are most vulnerable.
Airflow is Key: In Step 3, when you're securing those frost blankets, leave a 2-3 inch gap between the cover and plant tops to prevent condensation buildup. I've seen mold develop when covers trap too much moisture—this leads to rot and disease. Also, if you notice leaves touching the cover, gently prop them up with small sticks to maintain airflow and prevent ice buildup.
Spring Transition Tip: As you approach the last frost date, start your spring transition by removing mulch gradually over 3-4 days rather than all at once. This prevents soil temperature shock that can stunt early growth. I begin with the southern edge of my beds first, where the sun warms the soil earliest, and work my way northward over the week.
Pro Tips for Over Winter
- These simple strategies will help you maximize your winter harvest without the guesswork.
- Selection Strategy: When choosing varieties for overwintering, look for those labeled as "winter-hardy" or "cold-tole...
- Mulch Depth Matters: The 4-6 inches of mulch mentioned in Step 2 is non-negotiable for true winter protection. I've l...
Frequently asked questions
Got questions about overwintering veggies? You’re not alone! Here are answers to the most common concerns—so you can keep harvesting even when frost is on the menu.
When is the best time to start overwintering vegetables?
Plant cold-hardy crops like kale, spinach, or carrots 4–6 weeks before your first expected frost. For tender veggies (e.g., lettuce, peas), use row covers or cold frames after light frosts hit. Timing depends on your zone—check local frost dates for precision!
How do I protect plants from freezing temperatures?
Layer up! Use row covers, cloches, or low tunnels for light frosts (<32°F). For hard freezes (<20°F), add straw mulch (4–6 inches) + bubble wrap around stems. Evergreens or windbreaks also shield delicate leaves from windburn.
Can I overwinter vegetables in containers or raised beds?
Containers work great for shallow-rooted crops (e.g., lettuce, radishes). Bury pots halfway in the ground for insulation, and use heat mats or thermoses wrapped in burlap for extra warmth. Raised beds drain well but may need extra mulch to retain heat.
What pests should I watch for during overwintering?
Cold slows pests, but slugs, aphids, and rodents may still strike. Set up beer traps for slugs, spray neem oil for aphids, and use hardware cloth to block rabbits. Check under mulch weekly—early action prevents winter feasts!
How long can I realistically extend the harvest season?
With the right setup, you can harvest 3–6 weeks longer than usual. Leafy greens (kale, chard) often survive until late winter, while root crops (carrots, beets) may last until spring thaw. Monitor soil temps—above 40°F keeps most crops growing!
Wrapping up and next steps
Overwintering your vegetables is a rewarding way to extend your harvest and save money while enjoying fresh produce year-round! 🌱 With the right techniques—like selecting cold-hardy crops, using protective coverings, and maintaining soil health—you’ll be well on your way to a thriving winter garden.
Whether you’re a seasoned gardener or just starting out, every step you take brings you closer to a bountiful, frost-free future.
Now that you’re armed with tips and tricks, roll up your sleeves and give it a try! Start small with a few cold-hardy plants, experiment with different methods, and soon you’ll be harvesting crisp greens and hearty roots even in the chillest months. Happy gardening! 🌿