
Pests
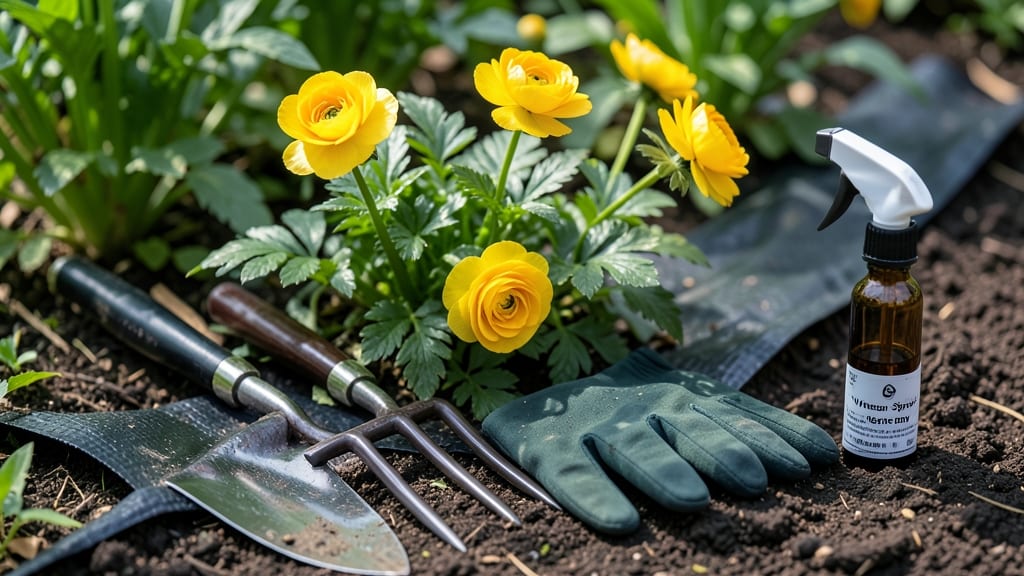
How to get rid of buttercup weeds—the garden’s sneakiest invaders—bright yellow blooms hiding deep, stubborn roots. 🌱 I’ve battled them for years, and the boil-and-pour method finally gave me the upper hand, eliminating them at the root without toxic chemicals. This isn’t just about pulling weeds; it’s about reclaiming your garden’s space and stopping regrowth for good.
The secret lies in timing and technique: pull weeds when soil is moist (spring or fall), then boil water with a few drops of dish soap to break down those tough roots. Pour it directly over the freshly uprooted plants—no fancy tools, just boiling water, patience, and persistence.
Most gardeners give up after one try, but this method works because it targets the entire root system, not just the leaves.
By following these steps, you’ll see fewer buttercups popping up within 2-3 weeks, and your garden beds will stay cleaner longer.
The method is safe for most plants (just avoid pouring on desirable flowers), and it’s a chemical-free way to keep your yard looking sharp without harming the soil or local wildlife.
For stubborn patches, repeat the process every 2-4 weeks until the area stays weed-free. Mulching afterward helps suppress new growth, and planting competitive ground covers keeps buttercups from returning.
It’s not instant, but it’s effective—and once you’ve done it, you’ll never look at those cheerful yellow flowers the same way again.
📚 In This Guide
- What you need
- Instructions
- Tips and common mistakes
- Wrapping up and next steps
What you need
- ● Large stockpot or kettle (minimum 2 gallons capacity—think stainless steel or heavy-duty to handle boiling water safely).
- ● Sturdy gloves (heat-resistant, like gardening or rubber kitchen gloves rated for high temps).
- ● Long-handled tongs or grabber (to avoid burns when handling hot pots).
- ● Boiling water (1–2 gallons per application, depending on weed density).
- ○ White vinegar (1 cup per gallon of water—optional but boosts effectiveness!).
- ● Dish soap (1 tbsp per gallon—helps break down waxy weed surfaces).
- ● Garden fork or trowel (for loosening soil around roots before boiling).
- ● Plastic sheeting or tarp (to protect nearby plants or pavement).
- ● Salt (½ cup per gallon—dries out roots faster, but use sparingly near plants).
- ● Spray bottle (for targeted vinegar-soap mixes on smaller weeds).
- ● Safety goggles (if weeds are near delicate plants or your eyes are sensitive).
- ● Wheelbarrow or bucket (to mix solutions or haul boiling water safely).
Step-by-Step instructions for eradicating buttercup weeds
This method works where others fail—no chemicals, just targeted heat and persistence.
🌱 Step 1: Identify and Mark the Buttercup Plants
Buttercups spread aggressively, so spot every plant first. Look for their bright yellow flowers and lobed leaves growing in clusters. I grab a white plastic spray bottle (the kind used for marking plants) and fill it with a mix of 1 part dish soap to 3 parts water. This creates a temporary white marker that won't stain soil or harm plants.
Spray a light mist over each buttercup plant—you'll see the solution dry to a faint white outline. This marks them for treatment without damaging surrounding vegetation. Work on a dry day so the marker lasts through your first round of treatments. Buttercups often hide under taller plants, so check thoroughly before proceeding.
☀️ Step 2: Boil Water and Prepare for Pouring
Fill a large pot (at least 2 gallons capacity) with water and bring it to a rolling boil. The heat kills buttercup roots on contact, but you need enough volume to saturate the soil around each plant. I like to use a kettle with a spout for precision pouring, but any heat-resistant container works.
While waiting, clear the area of rocks, mulch, or debris that could insulate roots and protect them from the heat. Buttercups develop deep taproots, so you'll need to pour water directly onto the marked plants until it seeps 4-6 inches into the soil. Have a garden trowel nearby to gently loosen compacted soil if water pools instead of sinking in.
💧 Step 3: Apply Boiling Water Directly to the Plants
Carefully pour the boiling water onto the center of each marked buttercup plant, starting with the largest clusters. The water should bubble and steam as it hits the leaves and soil. I pour until the water reaches the depth of the plant's root system—you'll see the soil darken and steam rise from deep within. Avoid pouring on desirable plants or grass, as the heat can damage them.
Repeat this process for all marked plants, working in sections if you have a large area. The steam kills the plant tissue immediately, while the heat penetrates the soil to attack the roots. You'll notice the leaves wilt and turn brown within minutes. For stubborn plants, repeat the treatment 3-5 days later to ensure the entire root system is destroyed.
✂️ Step 4: Monitor and Retreat as Needed
After treatment, monitor the area for new buttercup growth. The plants may take 1-2 weeks to fully die back, but any regrowth indicates surviving roots. I check weekly by looking for new yellow flowers or fresh green leaves. If you see any, mark them immediately and repeat the boiling water treatment.
This method works best in spring or fall when buttercups are actively growing. In summer, their deep roots may require 2-3 treatments spaced 10 days apart to fully eradicate them. Keep the area weed-free during this time—competition from other plants helps prevent buttercup regrowth.
🪴 Step 5: Prevent Regrowth with Barriers
Once the area is clear, prevent buttercup seeds from spreading by installing a landscape fabric barrier around the treated zone. Cut a piece to fit the area and secure it with landscape staples, leaving a 1-inch border exposed above the soil. This blocks sunlight and discourages new seedlings from germinating.
For high-risk areas, I also apply a thin layer of coarse sand or gravel over the fabric. This creates an inhospitable environment for buttercup seeds while still allowing water to penetrate. Check the barrier monthly and remove any new weeds that appear before they flower—this keeps your yard buttercup-free long-term.
Tips & tricks for perfect buttercup weed eradication
Here's what nobody tells you about making this method work the first time—and every time after.
Precision Marking: When creating your dish soap marker in Step 1, use a 1:3 ratio of dish soap to water, but add 1 teaspoon of rubbing alcohol per quart of solution. This helps the marker dry faster and last longer on dry days. I always test the spray pattern on a scrap of cardboard first to ensure even coverage—uneven spraying can leave gaps where buttercups hide.
Heat Application Strategy: In Step 3, focus on the plant's base where leaves meet the soil—the roots are most vulnerable there. For large clusters, pour water in two concentric circles around the plant: first at the base, then 1-2 inches outward. This creates a thermal barrier that prevents regrowth from lateral roots. I use a long-handled spoon to gently stir the soil after pouring—this helps distribute the heat deeper.
Seasonal Timing: The instructions mention spring/fall as ideal seasons, but if you're tackling summer buttercups, do this in the early morning or late evening when temperatures are cooler. Heat stress from midday sun can make the boiling water treatment less effective. I've found that treating in shade first gives the heat time to penetrate before the sun intensifies.
Barrier Installation: When installing your landscape fabric in Step 5, overlap pieces by at least 6 inches to prevent seed migration. For high-risk areas, I add a 1-inch layer of wood ash (from untreated wood) over the fabric—this raises soil pH slightly, creating an inhospitable environment for buttercup seeds. Check the barrier every 2 weeks during the growing season for any new sprouts.
Pro Tips for Get Rid Of Buttercup Weeds
- Here's what nobody tells you about making this method work the first time—and every time after.
- Precision Marking: When creating your dish soap marker in Step 1, use a 1:3 ratio of dish soap to water, but add 1 te...
- Heat Application Strategy: In Step 3, focus on the plant's base where leaves meet the soil—the roots are most vulnera...
Frequently asked questions
Got questions about tackling buttercup weeds?
You’re not alone—these pesky invaders can be stubborn! Below, we’ve answered the most common queries to help you finally reclaim your garden or lawn with confidence.
How do I know if I’m dealing with buttercup weeds?
Buttercups have bright yellow, cup-shaped flowers (hence the name!) and jagged, lobed leaves. They often grow in moist areas and can spread aggressively. If your weeds match this description—and they’re popping up everywhere—you’ve got buttercups! Pro tip: Their milky sap can irritate skin, so wear gloves when handling them.
How long does it take for the boil-and-pour method to work?
You’ll start seeing results within 3–7 days—the weeds will wilt and turn brown. However, deep roots may take 2–4 weeks to fully die off. For best results, repeat the treatment if any green regrowth appears. Patience is key! Note: Avoid treating on windy days to prevent accidental drift.
Can I use vinegar or boiling water instead of the boil-and-pour method?
Yes! Both are effective, but the boil-and-pour method is more targeted. Vinegar (10–20% acetic acid) works well for spot treatment, while boiling water is great for small patches. However, neither kills deep roots as reliably as the boil-and-pour technique. For large infestations, combine methods: boil-and-pour first, then vinegar follow-up for extra insurance.
Will this method harm my grass or plants nearby?
The boil-and-pour method is selective when applied carefully. To protect nearby plants:
- Use a shield (like cardboard) around desirable plants.
- Avoid treating on windy days.
- Test a small area first if unsure.
What if the buttercups keep coming back?
Persistent buttercups mean deep roots or new seeds in the soil. To break the cycle:
- Reapply the boil-and-pour method every 2–3 weeks until no regrowth appears.
- Improve soil health with mulch or compost to crowd out weeds.
- Consider pre-emergent herbicides (like corn gluten meal) in early spring.
Wrapping up and next steps
You’ve got this! 🌱 By mastering the boil-and-pour method, you’re tackling buttercup weeds with a targeted, eco-friendly approach that saves time and effort.
Whether you’re dealing with stubborn roots or just want to keep your garden pristine, consistency is key—so grab that pot of boiling water and reclaim your space, one weed at a time.
Ready to finally enjoy a buttercup-free yard? Start small—pick a patch, test the method, and watch your confidence (and your garden) bloom! 🌿