
How To
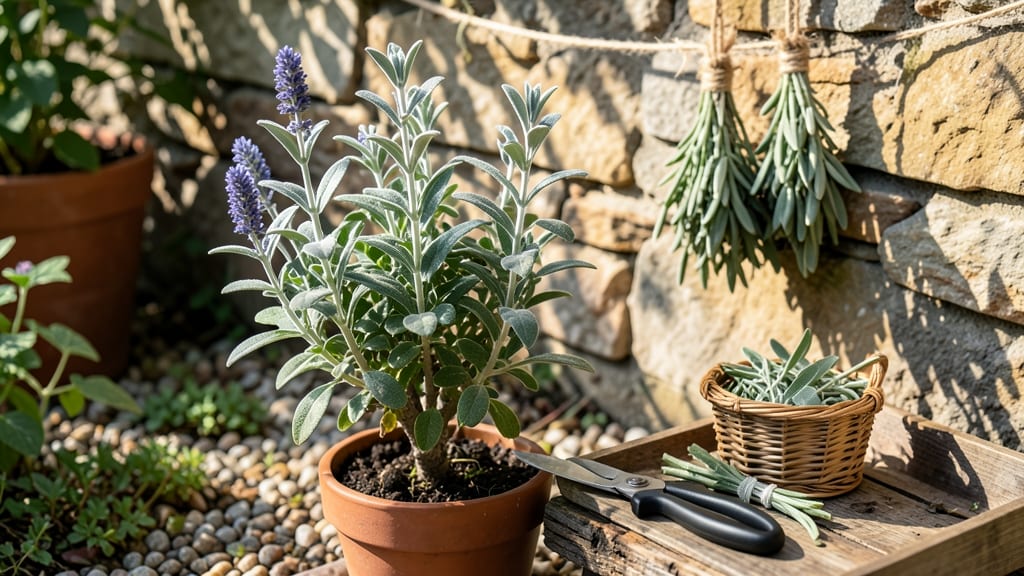
Harvesting sage for winter storage is easier than you think—and the key to preserving that bold, earthy flavor lies in timing and technique. If you've ever opened a jar of dried sage only to find it tasting dull or musty, you're not alone.
The good news? With just a few simple steps, you can dry sage that stays aromatic for up to a year, ready to transform your holiday dishes.
Picture this: it's late summer, and your 🌿 sage plant is thriving in zone 6a. That's your cue to act before the first frost hits. The right moment to harvest is when the leaves are fully mature but before the plant flowers—this ensures maximum flavor and potency.
Whether you're a seasoned gardener or just starting out, I'll walk you through exactly how to pick, dry, and store your sage so it's as good as fresh when winter rolls around.
You don't need fancy equipment—just a sharp pair of scissors, some twine, and a dry, dark place to hang your bundles. I'll show you the best methods for drying sage, from classic air-drying to speedier oven techniques, and how to avoid common mistakes that ruin your harvest.
By the end, you'll have a pantry stocked with homegrown sage that's ready to elevate everything from roasted meats to homemade bread.
Ready to save money and enjoy fresh-tasting herbs all winter long? Let's dive into the simple steps that will turn your summer sage into a year-round flavor powerhouse—no guesswork required.


When and how to harvest sage for maximum flavor preservation
Harvesting sage at the right time ensures your dried leaves retain their rich, earthy flavor. The best window for harvesting is late summer to early fall, typically between August and September, just before the first frost.
This timing captures the plant’s peak essential oil content, which translates to maximum aroma in your dried sage.
Look for fully mature leaves that are large, fragrant, and slightly woody but still flexible. Avoid harvesting when the plant is stressed, like during extreme heat or drought, as this can reduce flavor quality. Instead, focus on stems that are 12 inches or taller with vibrant green leaves.
To harvest, use clean, sharp pruning shears or scissors to cut stems about 3-4 inches long. Always cut just above a leaf node or set of leaves to encourage new growth. This method ensures your sage plant stays healthy and continues producing flavorful leaves for future harvests.
Never harvest more than one-third of the plant at a time, as over-harvesting can stress the sage and reduce its ability to thrive. If you need more sage for drying, space out your harvests by a few weeks to allow the plant to recover and maintain its vigor.
Morning is the ideal time to harvest sage because the leaves are fully hydrated and packed with essential oils. Avoid harvesting after heavy rain or in the evening, as moisture can make drying more difficult and increase the risk of mold or spoilage.
After harvesting, gently shake off any debris and remove any damaged or yellowing leaves. Bundle the stems together with a rubber band or twine, leaving the leaves exposed for even drying. This step is crucial for preserving the sage’s distinct flavor and preventing clumping during the drying process.
| Harvest Stage | Key Indicators | Best Practices |
|---|---|---|
| Early Growth | Plant < 6 inches tall; leaves small and not aromatic | Avoid harvesting; focus on plant care |
| Mature Leaves | Leaves large, fragrant, and woody but flexible; plant ≥ 12 inches | Harvest stems 3-4 inches long; cut above leaf nodes |
| Flowering Stage | Budding flowers; flavor may diminish | Harvest before flowers open for best flavor |
| Late Season | Leaves yellowing; frost approaching | Harvest remaining stems and dry quickly |
If you’re harvesting sage for the first time, start with just a few stems to test your drying method. This approach helps you refine your technique and ensures you don’t end up with a surplus of poorly dried leaves.
Store your first batch in an airtight container and check it after a few weeks to assess flavor and texture.
For continuous harvests, prune your sage plant lightly throughout the growing season. This practice encourages bushier growth and more abundant leaves. Just be sure to leave enough foliage to keep the plant healthy and photosynthetically active.
After harvesting, give your sage plant a light watering if the soil feels dry, but avoid overwatering. Sage is drought-tolerant, and excessive moisture can lead to root rot or fungal issues. Focus on keeping the soil lightly moist but well-draining to support the plant’s recovery.
Once you’ve mastered the art of harvesting sage, you’ll have a steady supply of aromatic leaves ready for drying. Whether you’re preserving it for winter cooking or medicinal uses, proper harvesting sets the foundation for flavorful, long-lasting dried sage.
Step-by-step sage drying methods compared: air-drying vs. oven-drying vs. dehydrator
Once you’ve harvested your sage leaves at peak flavor, the next step is drying them properly to lock in that aromatic goodness. Not all methods are equal—some preserve flavor better, while others risk losing potency or even causing mold.
Let’s break down the three most effective techniques: air-drying, oven-drying, and dehydrator-drying, so you can choose the best fit for your kitchen and time.
Each method has its own advantages. Air-drying is the most traditional and requires no equipment, but it takes the longest. Oven-drying speeds up the process but demands close attention to avoid burning. Meanwhile, a dehydrator offers precision and consistency, making it ideal for beginners or those short on time.
Below, we’ll compare them side by side so you can decide which works best for your sage harvest.
Sage Drying Methods Compared
| Method | Equipment Needed | Time Required | Flavor Retention | Best For |
|---|---|---|---|---|
| Air-Drying | None (hanging bundle) | 2-4 weeks | Highest (natural process) | Patience, traditionalists |
| Oven-Drying | Oven, baking sheet | 2-6 hours | Good (risk of burning) | Quick batches, small spaces |
| Dehydrator | Dehydrator, trays | 4-12 hours | Excellent (precise control) | Beginners, large harvests |
For air-drying, bundle your sage stems in small groups and hang them upside down in a dry, dark, and well-ventilated spot. This method mimics nature’s drying process, preserving the most flavor but requiring 2-4 weeks to complete.
I like to use a paper bag over the bundle to catch any falling leaves—this keeps everything contained and makes cleanup easier.
If you’re short on time, oven-drying is a great alternative. Preheat your oven to its lowest setting (around 170°F) and spread the sage leaves on a baking sheet lined with parchment paper. Prop the oven door open slightly with a wooden spoon to allow moisture to escape.
Check every 30 minutes to ensure they don’t over-dry or burn. This method takes 2-6 hours, depending on humidity levels.
Using a dehydrator is my go-to for consistency. Set it to 95°F-115°F and arrange the sage leaves in a single layer on the trays. Avoid overcrowding, or the leaves won’t dry evenly.
Most dehydrators take 4-12 hours to fully dry sage, and the even heat ensures flavor retention without the risk of burning. Plus, it’s a hands-off process, perfect for busy gardeners!
Once your sage is fully dried—crispy to the touch and easily crumbling—store it in an airtight container away from light and moisture. Label it with the date to track freshness, as properly dried sage can last up to a year while retaining its aromatic qualities.
Whether you choose air-drying, oven-drying, or a dehydrator, the key is patience and attention to detail to ensure your winter sage stays as flavorful as the day you harvested it.