
How To
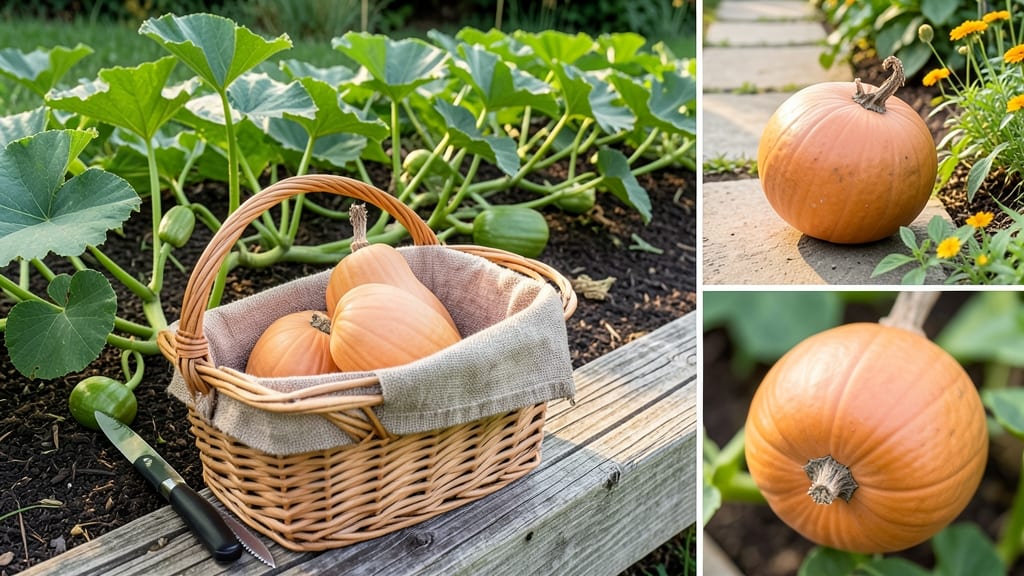
3 Tactile tests to identify a ripe butternut squash without cutting
Picking the perfect butternut squash relies on your senses—no knife required! The key is combining visual cues with hands-on tests. Overripe squash turns mushy, while underripe ones stay tough and bland. Here’s how to nail it every time using just your fingers, eyes, and ears.
First, focus on the skin firmness test. A ripe butternut should feel hard and dull, almost like a thick, dry shell. Press your fingernail into the skin—if it doesn’t puncture easily, it’s ready. Pro tip: Avoid shiny or waxy skin, which signals underripeness or artificial treatments.
Next, check the stem condition. A ripe butternut’s stem should be dry and brittle—it should snap easily when bent. If the stem is still green or flexible, the squash needs more time. This is your best clue for garden-fresh squash, as store-bought stems are often trimmed.
The weight and sound test is my favorite trick. A ripe butternut feels surprisingly heavy for its size, thanks to dense flesh. Shake it near your ear—you should hear a hollow rattle, like shaking a filled water bottle. This confirms the seeds are mature and the squash is sweet.
Combine all three tests for 100% accuracy. For example, a squash with hard skin, a dry stem, and a heavy rattle is peak ripeness.
Avoid squash with soft spots, mold, or a musty smell—these are signs of spoilage. When in doubt, pick the one that passes all three tests!
Timing matters too. Harvest butternut squash after your first frost (if in a cold climate) for sweeter flavor. In warm zones, aim for 90-110 days after planting. Store ripe squash in a cool, dry place for up to 3 months—just keep it away from ethylene-producing fruits like apples.
For gardeners, harvest in the morning after dew dries to preserve moisture. Use a sharp knife to cut the stem, leaving a 1-inch margin to prevent rot. Curing squash in the sun for 10 days enhances sweetness—just lay them on a rack and let nature do the work.
Remember: Overripe squash loses flavor and texture, while underripe squash stays tough. Master these tests, and you’ll never guess again—just know. Happy harvesting!
What to look for in butternut squash stems and skin
When selecting a butternut squash, the stem and skin hold the most clues about ripeness. A ripe squash won’t just look good—it’ll feel and sound right too. Let’s break down the visual and tactile cues that separate a perfect harvest from a disappointment.
Start with the stem. A ripe butternut squash will have a dry, papery stem that’s brittle to the touch. If you gently twist it, it should snap easily.
Avoid squash with green or flexible stems, as this signals underripeness. The stem’s color should also be a dull tan or beige, not vibrant green.
A hard rind is another key indicator. Press your fingernail into the skin—if it doesn’t puncture easily, the squash is ripe. A soft spot means it’s still maturing, while a squishy feel suggests overripeness. The skin should also be dull and matte, not shiny or waxy.
Don’t overlook the color transition. Ripe butternut squash shifts from green to tan or beige, especially on the neck and body. Look for a uniform color change—patchy green areas mean it’s not fully ripe.
The bottom of the squash should also be dry and slightly shriveled, another sign of maturity.