
How To
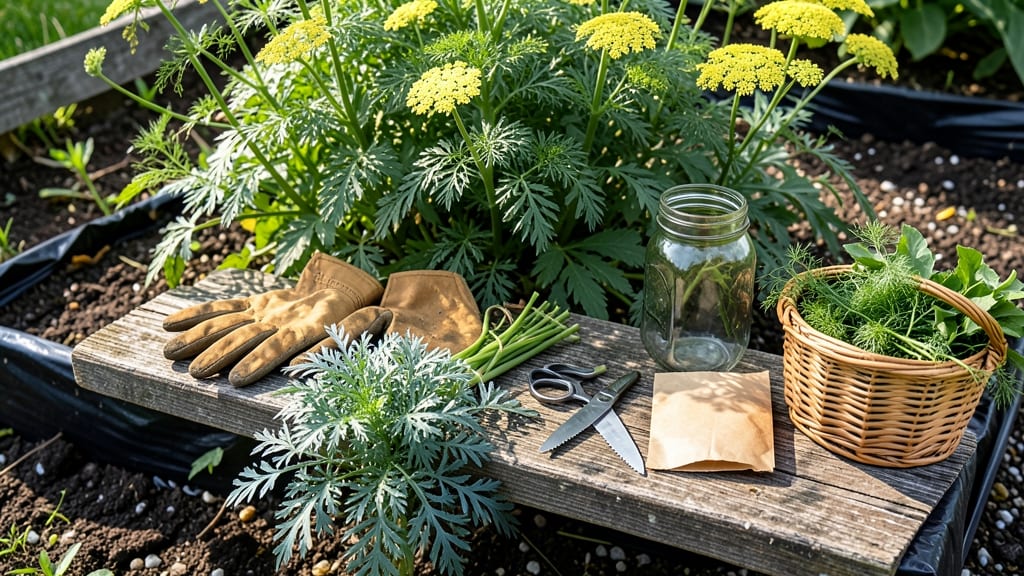
If you’ve ever wondered how to grow and harvest dill for fresh, fragrant leaves that elevate your cooking, you’re in the right place. This versatile herb isn’t just for garnishing—it’s a kitchen staple that thrives with the right care, and the secret lies in timing and technique.
Dill 🌿 loves sunshine and well-drained soil, but getting it right from seed to harvest can feel tricky. I’ll walk you through every step, from planting in April-May to snipping leaves at their peak flavor between June and September.
Whether you’re a beginner or a seasoned gardener, these tips will help you grow a bountiful dill plant that keeps giving all season.
The key to a successful harvest is knowing when to cut—before the plant bolts—and how to store it for maximum freshness. You’ll also learn how to preserve dill for later use, whether by drying or freezing.
Let’s dive into the simple, foolproof methods that’ll turn your garden into a dill powerhouse.
Ready to grow dill that tastes better than store-bought? By the end of this guide, you’ll have all the tools to enjoy homegrown dill all season long—no green thumb required.


Optimal dill growing conditions: soil, sunlight, and planting timeline
Dill thrives when given the right conditions—sunlight, well-draining soil, and proper planting timing. Unlike many herbs, dill is a cool-season crop that tolerates light frost but bolts quickly in heat. Understanding these factors ensures your plants grow tall, fragrant, and productive.
For best results, plant dill in USDA zones 3-10 after the last frost date, typically in late April or May. If you're in a warmer zone, opt for early spring or late summer planting to avoid summer bolting. Dill seeds germinate best in soil temperatures between 70-75°F.
Here’s a quick reference for your dill-growing setup:
| Requirement | Specification |
|---|---|
| Soil Type | Loamy, well-draining soil with pH 6.0-7.0 |
| Sunlight | 6+ hours of full sun daily |
| Planting Depth | ¼ inch deep, 2 seeds per spot |
| Spacing | 12-18 inches apart in rows 18 inches apart |
| Germination Time | 14-21 days in ideal conditions |
| First Harvest | 45-60 days after sowing |
Dill prefers loamy soil rich in organic matter, but it adapts well to sandy or clay soils if amended with compost. Before planting, mix in 2-3 inches of compost to improve drainage and fertility. Avoid heavy soils that retain too much moisture, as dill roots rot easily in soggy conditions.
Sunlight is non-negotiable for dill—partial shade reduces growth and flavor intensity. If your garden lacks full sun, consider growing dill in containers near a south-facing window or under a grow light. Just ensure it gets at least 4-6 hours of direct sunlight daily.
When planting, scatter seeds ¼ inch deep and space them 12-18 inches apart. Thin seedlings to the strongest plant per spot once they reach 2 inches tall. This spacing prevents overcrowding, which leads to weak stems and poor air circulation—inviting fungal diseases.
Dill bolts quickly when stressed by heat or drought, so consistent watering is key. Water deeply 2-3 times per week, aiming for 1 inch of water per week. Mulch around plants with straw or shredded leaves to retain moisture and suppress weeds, which compete for nutrients.
For a continuous harvest, succession plant dill every 2-3 weeks from spring to early summer. This staggered approach ensures fresh dill leaves are always available, whether you’re making pickles, soups, or salads. Just remember: the earlier you harvest, the more flavorful your dill will be!
🌱
Step-by-step dill harvesting guide: when and how to snip for best flavor
Harvesting dill at the right time ensures maximum flavor and encourages continuous growth. I always start harvesting when the plants reach 6-8 inches tall—this is when the leaves are fully developed but still tender.
The key is to pick leaves in the morning after dew has dried, as this is when essential oils are most concentrated.
Use clean, sharp pruning shears or scissors to avoid damaging the plant. I snip just above a leaf node to encourage new growth from that point. This method keeps your dill bushy and productive throughout the season.
For the best flavor, harvest leaves before the plant flowers—once it bolts, the leaves become bitter.
Look for lush green leaves and a firm stem. Crush a leaf—if it smells strongly of dill, it's ready!
Pick outer leaves first to avoid overcrowding. For bunches, cut stems at a 45-degree angle.
When flower heads turn brown, snip them and dry seeds for culinary or medicinal use.
Water the base immediately after harvesting to prevent stress and encourage regrowth.
To preserve freshness, store harvested dill in a sealed container with a damp paper towel in the fridge. For long-term storage, dry the leaves by hanging small bundles upside down in a dark, well-ventilated area until crispy.
I also freeze dill in ice cube trays with water for easy use in soups and salads later.
Regular harvesting actually extends the dill plant's lifespan. If you keep cutting back the leaves, your dill can produce flavorful foliage for up to 90 days after germination. Just avoid removing more than one-third of the plant at once to prevent shock.
For continuous harvests, I plant dill in successive batches every 2-3 weeks. This ensures a steady supply of fresh dill from early summer through fall. If you live in a warmer climate, you can even harvest into early winter before the first frost.
Never let your dill go to seed if you only want leaves—once it flowers, the plant redirects energy to seed production, and the leaves become less flavorful.
If you do want seeds, let a few plants flower and harvest the seeds for next year's planting or for making dill seed pickles.